Contouring and highlighting may seem intimidating, but fear not! This beginner’s guide is here to help you master these makeup techniques and achieve a flawless, sculpted look. Whether you’re new to the world of makeup or simply looking to enhance your skills, we’ll break down the basics and provide you with easy-to-follow tips and tricks. So grab your brushes and let’s get started on your journey to becoming a contouring and highlighting pro!
Understanding the Basics of Contouring and Highlighting
Definition of contouring and highlighting
Contouring and highlighting are techniques used in makeup application to sculpt and define the face, creating a more defined bone structure and enhancing certain features. Contouring involves using a product that is darker than your skin tone to create shadows that give the illusion of a more sculpted face. Highlighting, on the other hand, involves using a product that is lighter than your skin tone to bring forward and emphasize specific areas of the face.
The importance of contouring and highlighting in makeup
Contouring and highlighting can make a significant difference in your overall makeup look. These techniques allow you to enhance your features, create symmetry, and add dimension to your face. By strategically applying contour and highlight, you can define your cheekbones, slim down your nose, enhance your jawline, and accentuate your best features. Contouring and highlighting are essential tools in achieving a flawless, airbrushed finish.
Difference between contouring and highlighting
While contouring involves using a darker shade to create shadows and define certain areas, highlighting uses a lighter shade to bring forward and emphasize specific features. Contouring creates the illusion of depth, while highlighting adds brightness and radiance to the face. These techniques work together to create a balanced and well-defined look, enhancing your facial structure and adding a natural glow to your skin.
Tools Required for Contouring and Highlighting
Choosing the perfect brushes
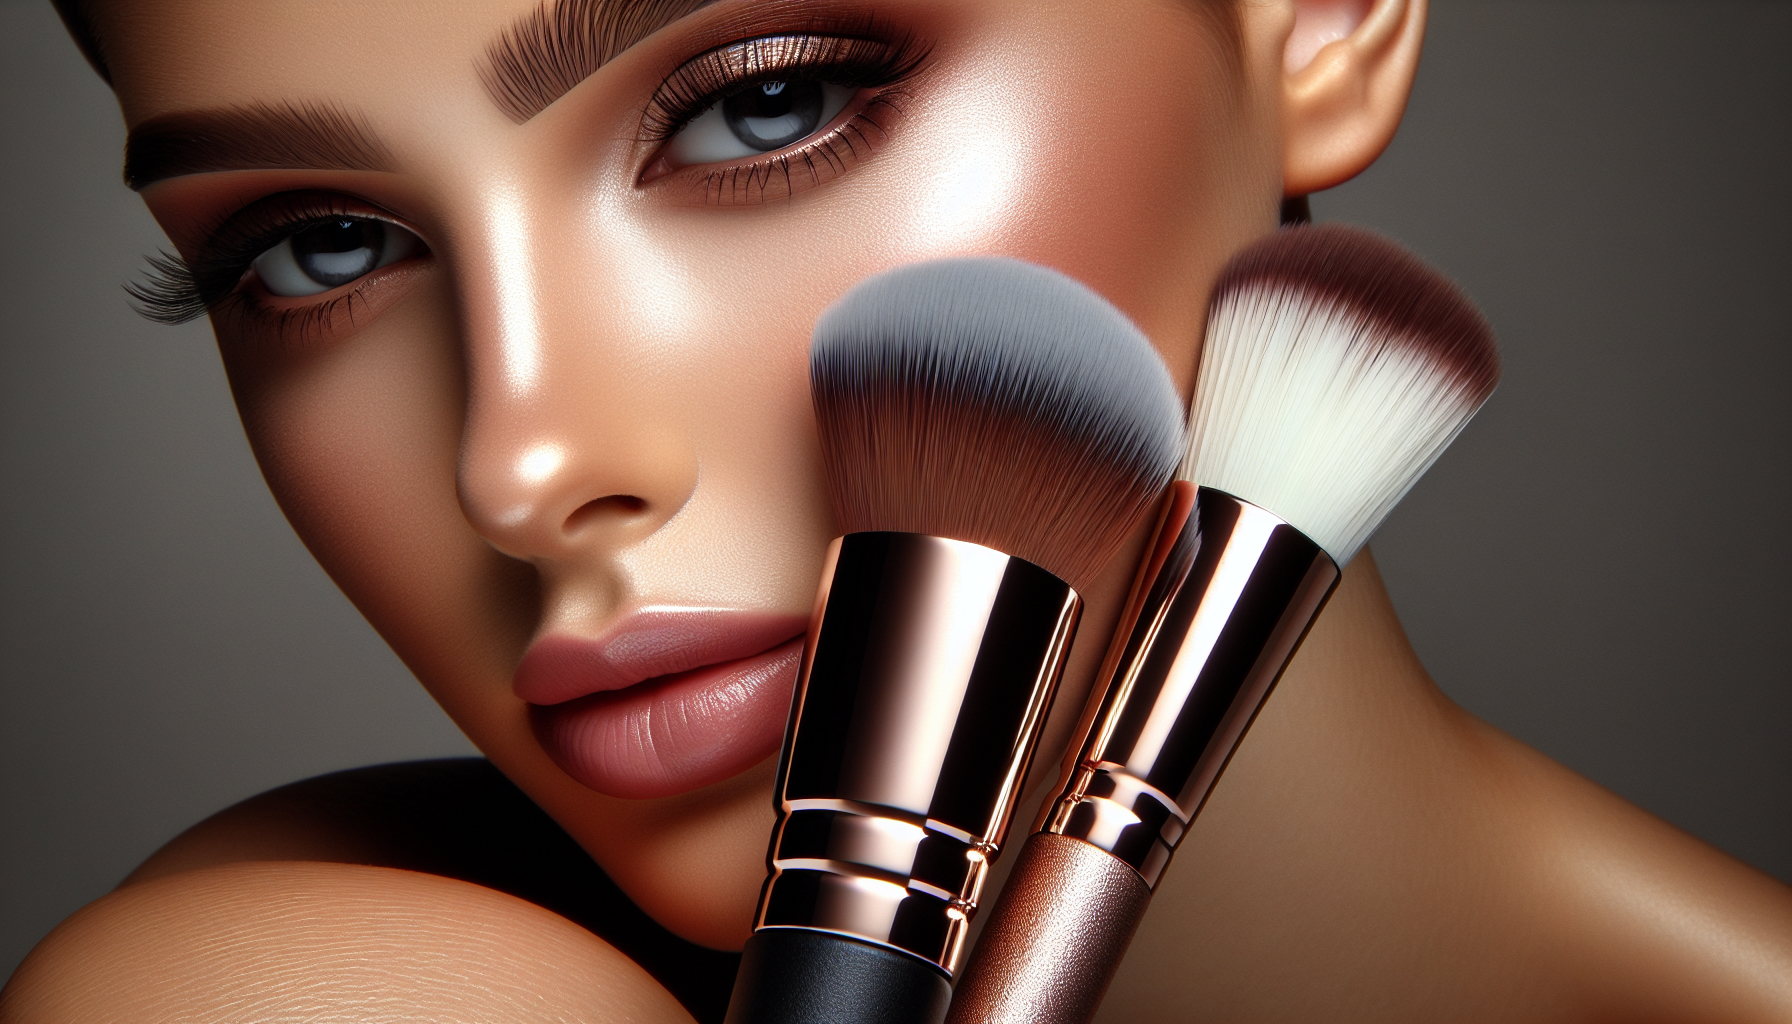
Having the right brushes is crucial for achieving a seamless contour and highlight. For contouring, a small, angled brush or a fluffy brush with a tapered end is ideal for precise application. When it comes to highlighting, a fan brush or a small, fluffy brush works best to apply the product to specific areas of the face. Investing in high-quality brushes will ensure smooth application and effortless blending.
Exploring different contouring and highlighting products
Contour and highlight products come in various forms, including creams, powders, and liquids. Each product has its own unique finish and texture, so it’s essential to experiment and find what works best for your skin type and desired look. Cream products are great for a natural, dewy finish, while powders offer a more matte and long-lasting effect. Liquids can provide a glowing and seamless finish. Consider your skin type and the desired finish when selecting your contour and highlight products.
Essential extras: blender sponge, makeup primer
In addition to brushes and contouring products, a blender sponge and makeup primer are essential tools for achieving a flawless contour and highlight. A blender sponge is perfect for seamlessly blending any harsh lines or edges, giving you a natural and airbrushed finish. Makeup primer plays a crucial role in creating a smooth canvas for your contour and highlight application, ensuring longevity and preventing product from slipping or smudging throughout the day.
Choosing the Right Contour and Highlight Shades
Selecting shades based on your skin tone
Choosing the right shades for contouring and highlighting is essential for achieving a natural and flattering look. For contouring, opt for a shade that is around two to three shades darker than your natural skin tone. This will create a shadow effect that looks natural and blends seamlessly. For highlighting, select a shade that is two to three shades lighter than your skin tone to brighten and bring forward the desired areas.
Importance of testing products on your skin
With a wide range of contour and highlight products available, it’s crucial to test them on your skin before making a purchase. Every individual has a unique skin tone and undertone, and what works for someone else may not work for you. Test the products on your jawline or cheek to ensure that the shades complement your skin tone and blend seamlessly into your natural complexion. This step will help you avoid purchasing the wrong shades and wasting money on products that don’t suit your skin tone.
Recommended brands for beginners
For beginners, it’s often helpful to start with trusted and beginner-friendly brands that offer a range of contour and highlight products. Some recommended brands for beginners include NYX, Maybelline, and L’Oréal. These brands offer a range of shades and product formulations that cater to different skin tones and preferences. Additionally, they are budget-friendly and easily accessible, making them ideal for those new to contouring and highlighting.
Step-by-Step Guide to Contouring
Creating a base: prepping and priming your skin
Before starting your contouring process, it’s important to prepare your skin to ensure a smooth and long-lasting finish. Cleanse and moisturize your face thoroughly, then apply a primer to create a smooth canvas for makeup application. This will help your contour and highlight products adhere better and last throughout the day.
Applying contour on the face in a correct manner
To create a natural contour, start by sucking in your cheeks and applying the contour shade to the hollows of your cheeks. Use a light hand and build up the product gradually to avoid any harsh or unnatural lines. Next, apply the contour shade along the sides of your nose if desired, to create the illusion of a more slimmed-down nose. Lastly, apply the contour shade to the perimeter of your face, blending it into your hairline and under your jawline to add definition and create a more sculpted look.
Best techniques for blending contouring products
After applying the contour shade, blending is key to achieving a seamless and natural finish. Use a clean brush or a damp blender sponge to blend the contour product into your skin. Start by gently buffing and blending the edges to soften any harsh lines, ensuring that no distinct lines are visible. The key is to create a gradual transition between your natural skin tone and the contour shade. Remember to blend the contour shade into your neck to avoid any stark contrasts.
Step-by-Step Guide to Highlighting
Identifying key areas to highlight on your face
Highlighting adds brightness and radiance to specific areas of your face, bringing them forward and creating a youthful glow. The key areas to highlight include the tops of your cheekbones, the center of your forehead, the bridge of your nose, the cupid’s bow above your upper lip, and the inner corners of your eyes. These areas naturally catch the light, and highlighting them will enhance your features and give you a luminous complexion.
Applying highlighter correctly
To apply highlighter, use a small, fluffy brush or your fingertips to gently apply the product to the desired areas. Apply the highlight shade sparingly and build it up gradually to avoid an overly intense look. Use a light touch and focus on areas that naturally catch the light. Be cautious not to apply too much product, as it can appear overly shiny or unnatural.
Blending highlighter for a subtle glow
Just like contouring, blending is crucial when it comes to applying highlighter. After applying the product, use a clean brush or a damp blender sponge to gently blend and diffuse the highlighter. This will create a seamless and natural glow, ensuring that the highlight is subtle and not overly harsh. Remember to blend the highlighter into your foundation and other makeup products to achieve a cohesive and flawless finish.
Common Contouring and Highlighting Mistakes to Avoid
Over-contouring and over-highlighting
One of the most common mistakes when contouring and highlighting is using too much product. This can result in an overly dramatic and unnatural look. Remember that the goal of contouring and highlighting is to enhance your natural features, not completely alter your face. Use a light hand and build up the product gradually to achieve a subtle and natural finish.
Choosing wrong shades
Choosing the wrong shades for contouring and highlighting is another common mistake. Using shades that are too dark or too light for your skin tone can result in an unflattering and unnatural appearance. Take the time to test different shades on your skin and find the ones that complement your complexion best. This will ensure that your contour and highlight seamlessly blend into your natural skin tone.
Inappropriate blending
Improper blending can make even the most well-applied contour and highlight look messy and unpolished. Take the time to blend your contour and highlight products thoroughly, ensuring that there are no visible lines or edges. Blending should be done gently and with a light touch to create a seamless transition from your natural skin tone to the contour and highlight shades.
Advanced Techniques and Tips for Contouring and Highlighting
Mastering the use of cream and powder products
Once you have gained confidence in the basic techniques, you can experiment with different product formulations, such as cream and powder. Cream products are great for achieving a natural and dewy finish, as they blend seamlessly into the skin. Powder products, on the other hand, offer a more matte and long-lasting effect. Practice using both formulations to understand their textures and finishes, and determine which one works best for your skin type and desired look.
Contouring and highlighting for different face shapes
Contouring and highlighting techniques can vary depending on your face shape. Understanding your face shape and its unique features can help you achieve the most flattering and balanced contour and highlight. For example, those with round faces may want to focus on slimming the face and creating more definition, while those with square faces may want to soften angles and add dimension. Research and experiment with specific techniques tailored to your face shape to achieve the most desired results.
Special occasion contouring and highlighting
Contouring and highlighting techniques can be elevated for special occasions or when you want a more glamorous look. Consider using a shimmery or more intense highlight shade for added radiance, or layering different contour products to create a more pronounced and sculpted effect. Just remember to practice these techniques beforehand and adjust the intensity based on the event and your personal preference.
How to Make Contouring and Highlighting Last All Day
Setting your makeup correctly
To ensure that your contour and highlight last all day, setting your makeup is crucial. After applying your contour and highlight, dust a translucent powder over those areas to set the products in place. This will help prevent any smudging, fading, or creasing throughout the day. Additionally, spritzing a setting spray both before and after applying your contour and highlight can lock in your makeup and prolong its longevity.
Preventing contour and highlight from fading
To prevent your contour and highlight from fading, it’s important to consider the products you use for the rest of your makeup routine. Avoid using creamy or oily products on top of your contour and highlight, as these can cause them to slide or fade. Opt for powder-based blushes, bronzers, and setting powders to ensure that your contour and highlight stay intact throughout the day.
Product recommendations for long-lasting effect
Certain contour and highlight products are known for their long-lasting properties. Look for products that are marketed as long-wearing, transfer-proof, or smudge-proof. These formulations are designed to withstand heat, humidity, and other factors that may cause makeup to fade or smudge. Additionally, consider using a lightweight primer before applying your contour and highlight to create a longer-lasting base for the products.
Removing Contour and Highlight Makeup
Choosing the correct makeup remover
Removing contour and highlight makeup is just as important as applying it correctly. Look for makeup removers that are specifically formulated to remove long-wearing or waterproof makeup. These removers are designed to effectively dissolve and remove even the most stubborn makeup without causing irritation or dryness. Avoid harsh rubbing or tugging on your skin when removing makeup to prevent any damage.
Technique for effective and gentle removal
To effectively and gently remove contour and highlight makeup, start by saturating a cotton pad or a reusable makeup remover cloth with your chosen makeup remover. Gently press the pad or cloth onto your skin and hold it in place for a few seconds to allow the product to dissolve the makeup. Then, wipe away the makeup in gentle sweeping motions, making sure to remove all traces of contour and highlight.
Importance of proper skincare post-makeup removal
After removing your contour and highlight makeup, it’s important to follow up with a proper skincare routine. Cleansing your face thoroughly will help remove any residual makeup, dirt, or impurities that may be left behind. Follow up with a toner to balance your skin’s pH levels and a moisturizer to replenish hydration. Proper skincare post-makeup removal will help keep your skin healthy and prevent any potential issues caused by clogged pores.
Learning and Improving Techniques Through Practice
Makeup tutorials for beginners
If you’re new to contouring and highlighting, there are many makeup tutorials available online that can guide you through the process. Look for tutorials specifically aimed at beginners, as they will break down each step and provide helpful tips and techniques. Watching these tutorials and practicing along with them is a great way to improve your skills and gain confidence in your contouring and highlighting abilities.
Learning from professional makeup artists
Professional makeup artists are experts in their field and can provide valuable insights and techniques for contouring and highlighting. Consider attending makeup workshops or classes led by professionals, where you can learn their tips and tricks firsthand. Additionally, following professional makeup artists on social media platforms can provide inspiration and further education on different contouring and highlighting techniques.
Experimenting and practicing regularly
Ultimately, the key to mastering contouring and highlighting is to experiment and practice regularly. Each individual’s face shape, skin tone, and preferences are unique, so it’s important to find what works best for you through trial and error. Don’t be afraid to step out of your comfort zone and try different contour and highlight techniques. With time and practice, you’ll develop your own signature style and become more confident in your abilities.
Contouring and highlighting may seem intimidating at first, but with the right tools, techniques, and practice, anyone can achieve a beautifully sculpted and glowing complexion. Take the time to understand your face shape, skin tone, and desired look, and experiment with different products and application methods. Remember, makeup is a form of self-expression, so have fun with it and embrace your own unique beauty.


